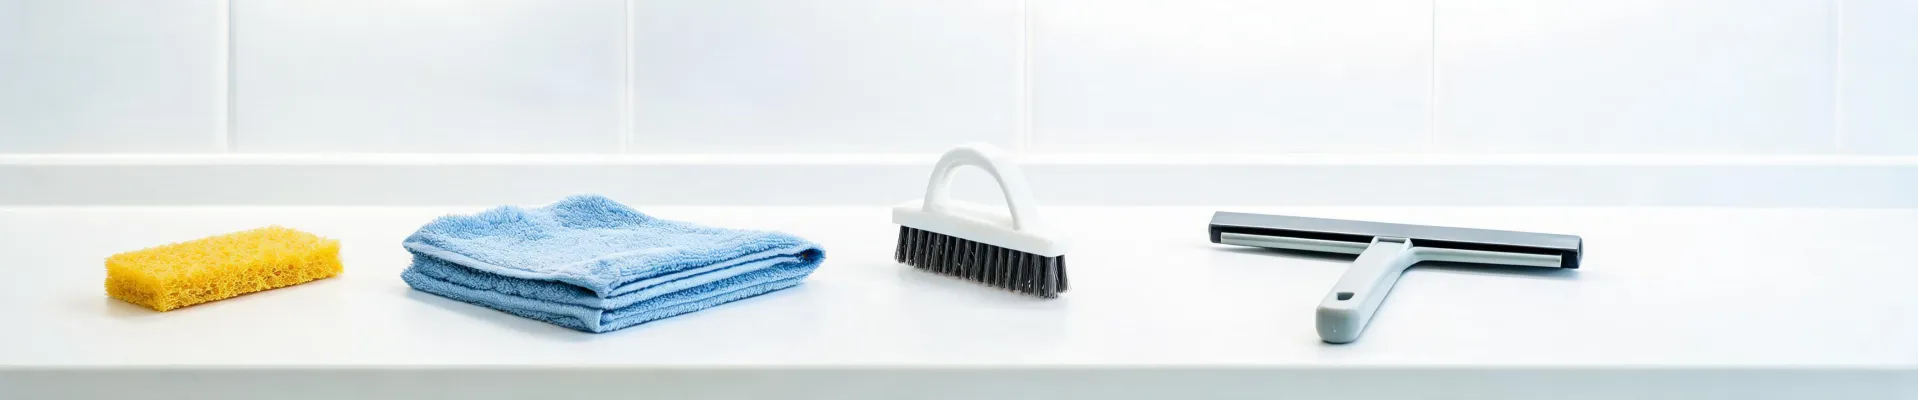
The key to removing hard-water buildup is choosing the right Scotch-Brite pad for the surface. Soft pads are safe for glass and acrylic, while medium pads work on ceramic tile. Always test on an inconspicuous spot first, and use light pressure—that's how you remove the deposit without scratching the surface.
The Shower Door That Stopped Being Clear
You've just moved into an older apartment, and the shower door tells the story. Along the bottom edge, where the glass meets the track, a white crust has built up over months of hard water and soap. You've sprayed it with a bathroom cleaner, waited the suggested ten minutes, and wiped. The film thins, but the stubborn deposits stay. Spray again, wait again, wipe again—the loop repeats. What you're up against is not ordinary grime but a mineral buildup that has bonded to the glass at a microscopic level. And here's the part that surprises people: the cleaner is not the main variable. The tool you scrub with is. That realization is the first step toward actually removing the deposit instead of just smearing it around. A soft sponge only pushes the cleaner across the surface; it never breaks the bond between the scale and the glass. That's why the same spray can seem to work on one day and fail on the next.
So why does the same buildup sometimes vanish with a little elbow grease and other times refuse to budge? Because the physical action matters more than the chemical one. A soft sponge simply glides over the deposit, pressing the cleaner into it without breaking the bond. A scrubby pad, on the other hand, cuts into the scale with abrasive particles. But not all scrubby pads are equal—and choosing the wrong one can leave a permanent pattern of fine scratches. The question becomes: how do you pick a scrubber that removes the buildup without damaging the surface underneath? That question turns out to have a very specific answer, and it starts with a brand you probably know from the kitchen sink. That answer involves grit grades, and the brand that makes them easy to identify is Scotch-Brite.
One Brand, Many Grit Levels
That brand is Scotch-Brite, and it's not a single product but an entire line of abrasive tools produced by 3M. The Wikipedia entry on Scotch-Brite describes it as a line of abrasive products produced by 3M, with pads and tools for home uses such as dish washing and scrubbing. That family relationship matters. When you see the Scotch-Brite name on a package, you're getting a product designed around a controlled abrasive surface—not a random kitchen sponge. The same engineering that makes industrial grinding products also calibrates these household pads. So the brand itself is a shorthand for graded abrasion. But the more useful detail hides in that same source's phrase about 'varying compositions and levels of hardness'—that's the part that changes how you approach bathroom buildup. That's the difference between a guess and a choice. We'll unpack that phrase in a moment.
The idea of 'levels of hardness' sounds abstract until you hold two Scotch-Brite pads side by side. One is light green, soft, and pliable; the other is dark green or brown, stiff, and rough to the touch. Both share the brand name, yet they behave as if they belong to different tool families. The soft one is made for gentle surfaces, like nonstick pans or fiberglass. The stiff one is designed for heavy-duty scrubbing on metal and stone. In between, the lineup spans grades, each with a specific abrasive grit embedded in the fibers. That grading is not a marketing gimmick—it's the mechanism that lets you match the tool to the job. For bathroom surfaces, knowing where each pad sits on that hardness scale is the difference between a clean glass door and a scratched one. The color coding is not random; it maps to a specific grit range.
Spray, Wait, Wipe: The Loop That Doesn’t End
Why does abrasion cut through mineral buildup when chemical sprays alone fall short? Because soap scum and hard-water stains are crystalline deposits, not oily films. A cleaner can soften the surface layer, but it has no mechanical way to break the bond between the scale and the glass. Abrasive particles act as tiny wedges. When you press a pad against the deposit and move it, each particle digs into the scale, cracking it off at the boundary. The hardness of the abrasive has to be higher than the deposit itself, but lower than the surface you're protecting. That gap is where the injury happens. If the abrasive is too soft, it skates over the buildup. If it's too hard, it chews into the tile or acrylic beneath. The chemical spray gets the deposit ready; the right grit is what actually removes it.
The common assumption is that a stiffer pad always works better—if a little scrubbing doesn't do it, scrub harder. That instinct ruined many a bathtub. Acrylic tubs, in particular, have a glossy finish that scratches almost instantly. A dark green general-purpose pad, which might feel ideal for “tough” deposits, can leave a mat of fine white lines across the surface. Once those are there, they catch soap and hard water, making the next round of cleaning even harder. The correct approach is the opposite of the instinct. You don't reach for the hardest pad in the drawer; you reach for the softest pad that can still remove the deposit. That way you shed the buildup without shedding the surface's finish. The distinction is subtle but it's the whole ballgame. And the first surface to protect is the one you can't replace: the acrylic tub.
How to Match Grit to the Surface
So how do you choose? Start with the surface, not the stain. For ceramic tile and porcelain sinks, a medium pad—often the brown or tan scouring pad—is safe and effective. For glass shower doors, you want the gentler green pad that's marketed as non-scratch. For acrylic and fiberglass fixtures, stick to the softest sponge that has any abrasive action at all, because those surfaces scratch at a lower threshold. The same Wikipedia entry that introduced the brand also notes that the line includes scouring pads with 'varying compositions and levels of hardness'—that variation is exactly what makes surface-matching possible. You're not looking for one universal scrubber; you're looking for the right member of a graded family for each fixture. When in doubt, pick the softer option. You can always step up a grade if it doesn't cut through, but you can't undo a scratch. That rule protects the most expensive part of the room first.
Using the pad correctly matters as much as picking it. Dampen the surface first; a little water reduces the pad's bite and keeps you from bearing down too hard. Apply a small amount of bathroom cleaner or a paste of baking soda and water if you prefer a non-chemical route. Then work in small circular motions on the deposit, letting the abrasive do the cutting. Don't push the pad into the surface as if you're sanding a table. The weight of your hand, not your arm, is enough. Wipe away the loosened residue frequently with a clean cloth so you can see what's left. After the deposit is gone, rinse the area thoroughly. This isn't a violent process; it's a controlled one. The pad is a tool with a designed level of aggression, and you're dialing that aggression to match the job.
The Remover Test: One Pass, Then Decide
Here's the test that settles any remaining doubt. In an inconspicuous spot—a corner of the shower wall, the edge of the glass—do one pass with your chosen pad, using light pressure and circular strokes for about ten seconds. Rinse and inspect. If the deposit is gone and the surface looks unchanged, you've matched the grade correctly. If the deposit remains but the surface still looks fine, you can move up one hardness level and try again. If the surface shows any faint hazing or scratch lines, stop immediately—go back to the softer grade and accept a slower clean, because a slow clean beats a permanently damaged fixture. That test takes less than a minute, and it converts guesswork into a rule. You may do this twice in a bathroom: once for the glass, once for the acrylic. The result is a decision you can repeat every time buildup reappears.
Remember that shower door with the crust along the bottom edge? After you match the pad to the glass and spend a few minutes working the deposit, the white line disappears. The door isn't just cleaner; it's restored. And the next time hard water starts to build up, you won't reach for the same spray-and-wipe loop. You'll already know which pad belongs where—soft for the acrylic tub, medium for the tile, gentle for the glass. The buildup stops being a mystery and becomes a routine check. That's the real outcome: not a single deep clean, but a repeatable way to deal with mineral deposits before they become a project. That one-minute test saves you from the endless spray-wait-wipe loop.
That shower door? It’s clear now—and you’ll know exactly what to do when it clouds again.

Ingrid Falk
Ingrid Falk is an outdoor living products analyst specializing in fences, pergolas, gazebos, canopies, greenhouses, shade sails, patio sets, outdoor sofas, and weatherproof cushions. She uses ISO 4892-2 and ASTM G154 weathering methods while comparing UV color change, coating adhesion, corrosion resistance, frame load, joint stability, water shedding, and dimensional movement. Her work helps garden retailers, project buyers, and hospitality operators select structures and furniture suited to wind exposure, climate, installation method, maintenance, and expected occupancy.