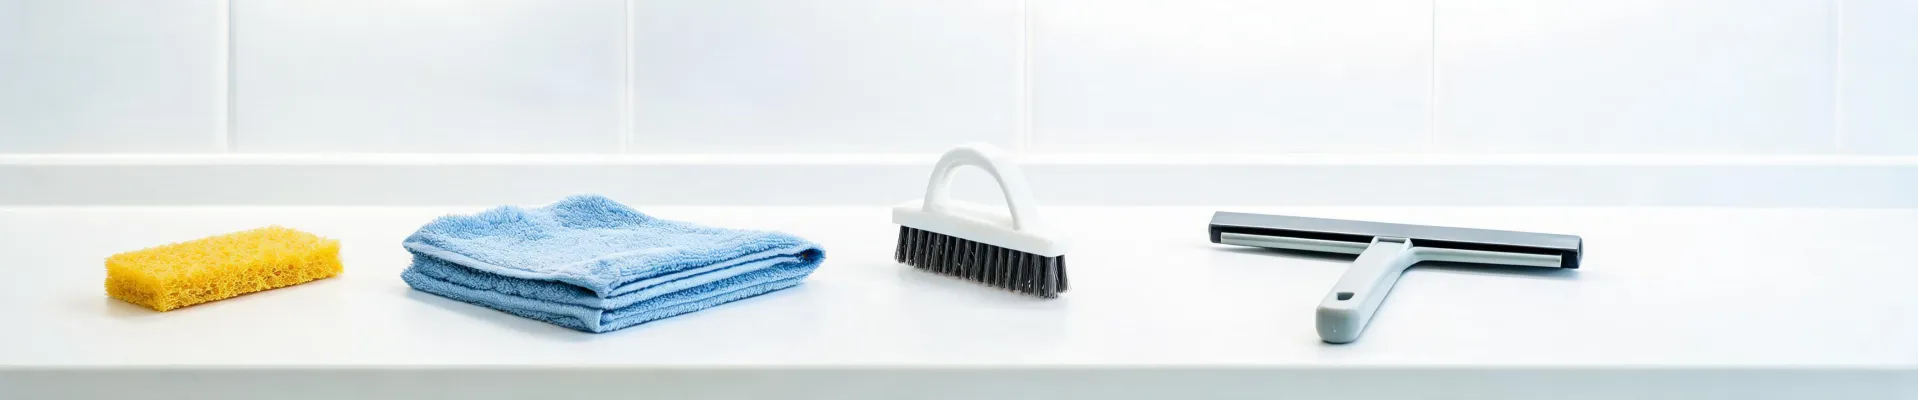
Scrubbing harder is the wrong answer to a fryer that still feels oily. The fault is not effort but a mismatch between the abrasive and the surface. Scotch-Brite pads are not one-size-fits-all, and buying the 3M brand does not automatically solve the problem if you grab the coarsest pad in the pack. The smart move for fryer and kitchen cleaning is matching the right abrasive texture to the surface—then protecting the cleaned areas with clear, sealed storage. No amount of scrubbing power compensates for a pad that is too hard for your cookware or too soft for baked-on grease.
That Oily Film Is a Matching Problem, Not an Effort Problem
Why does a fryer still feel slick after a thorough scrubbing? Most home cooks answer with more force: a heavier pad, a harder rub, a second pass with steel wool. That instinct is exactly backward. The grease that clings to a fryer basket and interior is not defeated by brute strength—it is defeated by matching the abrasive to the material. A coarse pad on a nonstick coating does not remove grease; it etches microscopic scratches that trap oil on the next use. The surface becomes stickier, not cleaner. So before you blame your technique, question your tool: the problem is usually a pad that is wrong for the job, not a hand that is too weak. The smart move is not a stronger Scotch-Brite pad but the right abrasive texture for each surface, then sealed storage for the clean areas. Once you stop reaching for the heaviest thing in the drawer, you can actually solve the oily film instead of chasing it.
The belief that every Scotch-Brite pad is interchangeable is the reason so many fryers end up scratched and still oily. 3M's own product line shows why: Scotch-Brite is an entire family of abrasive products, not a single pad. The evidence from the brand's official descriptions lists scouring pads and tools for home dishwashing and scrubbing, plus industrial variations such as discs, belts, and rotating brushes, with varying compositions and levels of hardness. In practical terms, a fine pad, a medium pad, and a heavy-duty pad are engineered for different jobs. When you assume they are all the same, you pick the heaviest one for everything, and that one pad wrecks delicate surfaces while leaving grease behind. The correction is simple: the first step in cleaning a fryer is not to scrub harder but to look at the pad you are holding and ask whether it is the right texture for the material in front of you. If it is not, the pad is the problem, not the grease itself.
The Scotch-Brite Abrasive Line Hides a Hardness Spectrum
The Scotch-Brite abrasive line works because hardness is a variable that 3M controls deliberately, not an accident of manufacturing. The brand's own descriptions point to 'varying compositions and levels of hardness' across the line, and that variation is the mechanism: a pad's abrasive grit is held together by a binder, and both the mineral and the binder change the cutting action. A softer, fine-textured pad is designed for nonstick and delicate surfaces, where it lifts residue without scratching; a harder, coarse pad is meant for carbonized grease on stainless steel or cast iron. Understanding this range lets you choose a pad that cuts the grease without cutting the pan. That is the mechanical reality behind the brand's reputation, and it is why the selection step belongs before the scrubbing step, not after you have already damaged a surface.
Here is how that mechanism plays out in a real clean-up. After a deep-fry session, your first instinct might be to reach for the most aggressive pad you own. Instead, look at the surface. For a nonstick fryer basket, start with a soft or medium Scotch-Brite pad and warm, soapy water; the goal is to loosen the oil without opening up scratches. For a stainless steel interior with baked-on crust, a heavier pad can be appropriate, but only after you have soaked the surface. The application rule is simple: let the pad's hardness match the resistance of the material. If the pad is too soft, you will work harder; if it is too hard, you will damage the finish. The right match feels efficient—the grease releases with moderate pressure, and the surface rinses clean without a visible swirl. That efficiency is the signal that you have chosen correctly, and it also tells you when to stop scrubbing and move on to storage.
To see why matching matters, compare two common scenarios. In the first, a cook uses a coarse, heavy-duty pad on a nonstick fryer basket. The pad removes the visible oil quickly, but it also creates micro-scratches. Those scratches become tiny anchors for the next round of cooking oil, so the fryer feels sticky again after one use. In the second scenario, the cook chooses a medium pad, soaks the basket, and lets the warm soapy water lift the grease before scrubbing. The offensive residue comes off with less force, and the surface stays smooth. The comparison is not about which pad is 'stronger'—the coarse pad clearly removes material faster—but about which system keeps the fryer clean over time. That long view is what separates a one-time scrub from a repeatable cleaning habit. And once you see the difference, you stop blaming your strength and start evaluating your tool choice. That shift in mindset is the real upgrade, and it costs nothing but a moment of attention.
Match the Pad to the Surface Before You Scrub
The tradeoff between abrasive power and surface safety is real, and it is not resolved by buying a 'premium' pad. A heavy-duty pad offers the obvious benefit of speed: it digs into carbonized grease and lifts it in a few swipes. The cost is that the same cutting action that strips grease also strips the protective layer from nonstick coatings, and it can leave visible scratches on enamel and painted surfaces. A fine pad, by contrast, protects the surface but demands more time and more passes to remove the same amount of build-up. There is also a middle path: medium-duty pads that balance cut and gentleness, especially when paired with a soak. The analytical way to think about this is to separate the two variables: the pad's hardness and the chemical or thermal assist you bring to the job. Heat and soaking do the heavy lifting; the pad just finishes the surface.
So here is the decision rule you can apply the next time you face a greasy fryer. First, identify the surface: nonstick, stainless steel, enamel, or cast iron. Second, match the pad to that surface's tolerance. For nonstick, use a soft or medium pad—never a coarse one. For stainless steel, a medium or heavy pad works, but only after soaking to protect the finish. For cast iron, a chainmail scrubber or a coarse Scotch-Brite avoids seasoning damage when used gently. Third, adjust the effort: if you are pressing hard and the grease is not moving, the problem is usually the missing soak, not the pad. The rule can be stated as a simple question: 'Is this pad the least abrasive tool that will remove this soil without damaging the surface?' If the answer is yes, you have the right match. If you are unsure, start softer and escalate only when the gentler option fails. That escalation principle is what keeps your fryer intact and your oil film gone.
The Cleaning Sequence That Protects Your Fryer
The actual cleaning sequence matters as much as the pad. After the oil cools enough to handle, drain the fryer and wipe out the bulk grease with a paper towel. Fill the tank or basket with warm water and a few drops of dish soap—or a dedicated degreaser—and let it soak for ten to fifteen minutes. The soak softens the carbonized film, so you do not have to grind it off. Then, with the right pad matched to the surface, scrub in small circles, letting the soapy water carry away the loosened grease. Rinse thoroughly, because leftover detergent can leave its own film. Dry the parts completely before reassembling or storing; any lingering moisture can make the next batch of oil splatter or rust the metal. This sequence is deliberately short on brute force and long on preparation, which is why it works on fryer interiors that one-pass scouring misses.
This is where the evidence from real product reviews becomes useful. The Rubbermaid Brilliance Pantry Food Storage Container Set, 10-Piece—a highly rated storage option with a 4.6 rating across 28.9k reviews—shows how durable, easy-to-clean materials support the entire kitchen workflow. The review notes that its stain resistance is exceptional, with no discoloration even after years of use, and that the four-latch airtight seal keeps contents fresh. Why does that matter for fryer cleaning? Because the same logic applies to the tools you use after cooking: if your cleaning tool leaves residues, or your storage container stains and retains odors, you are re-introducing the very problem you try to remove. A fryer basket that is cleaned and then stored in a container that holds grease stains will eventually pick up that old oil smell. The evidence that a sealable, stain-resistant container stays clear over years changes the judgment that storage is trivial—it is the final step of the cleaning process.
A few precautions keep this sequence from backfiring. Never scrub a hot fryer with abrasive pads; heat softens the coating and makes it easier to gouge. Do not soak nonstick parts in cold water and then introduce heat—thermal shock can warp the pan. Avoid mixing bleach-based cleaners with the soapy soak, because the combination can produce irritating fumes in a confined kitchen. And when you are tempted to use steel wool on any surface, remember that steel wool can shed fragments that embed in the pad and later scratch your next pan; Scotch-Brite pads, because they are abrasive-coated fiber, do not have that same shedding problem. Finally, replace a worn pad when it starts to tear or lose its abrasive layer—an old pad collects grease and bacteria and spreads it rather than lifting it. These small rules are what make the difference between a clean fryer and a fryer that is only visually clean.
After Cleaning: Sealed Storage Keeps the Win
Once the fryer is clean, the next question is how to keep it that way. A sealed, clear bin is the overlooked partner to a good scrub. The Rubbermaid Brilliance Pantry Baking Storage Container Set, 7.8-cup, Clear, is a concrete example: it features tight seals and secure latches to help keep food fresh and prevent spills, and the crystal-clear Tritan plastic makes it easy to see inside while resisting stains and odors. According to the product specifications, this 7.8-cup container is ideal for baking ingredients and pantry staples, and it stacks neatly in a cabinet. For a fryer owner, the transferable lesson is that you want the same qualities in the containers that hold your cleaned accessories, brushes, and spare parts: visibility so you know what is inside, a tight seal so dust and odors stay out, and stain resistance so the container does not become a new source of grime. It also prevents the accidental re-use of a greasy tool that was put away damp.
The verdict is clear once you combine the cleaning and storage halves of the system. The Rubbermaid Commercial Crystal-Clear Square Storage Container, in a 12-quart size, reinforces the same principle with a different angle: the square shape offers 25 percent more storage capacity than round containers, and the impact-resistant polycarbonate is dishwasher-safe. That evidence points to a practical rule for your own kitchen: the best storage is the option that keeps your clean fryer and tools organized without stealing counter space or hiding what is inside. So the final judgment for a home cook is not 'buy the strongest pad' or 'scrub longer.' It is: choose a Scotch-Brite pad with the right hardness for the surface, use a soak-first cleaning sequence, and finish by storing the clean items in clear, sealed containers. That three-part system is what actually solves the oily film problem and keeps the kitchen fresh between fry-ups. That is the verdict: matching beats muscle, and sealed storage is the closing move.
After you have scrubbed with the right pad, soaked away the grease, and tucked the clean parts into a clear, sealed bin, the oily film problem stops repeating. That is not a promise from a commercial; it is the logical conclusion of evidence that spans abrasive hardness, stain-resistant plastics, and space-efficient storage. The 3M Scotch-Brite fryer and kitchen cleaning tool is not a single item—it is a system, and the system works when you let the pad match the surface and the container keep the win.

Ingrid Falk
Ingrid Falk is an outdoor living products analyst specializing in fences, pergolas, gazebos, canopies, greenhouses, shade sails, patio sets, outdoor sofas, and weatherproof cushions. She uses ISO 4892-2 and ASTM G154 weathering methods while comparing UV color change, coating adhesion, corrosion resistance, frame load, joint stability, water shedding, and dimensional movement. Her work helps garden retailers, project buyers, and hospitality operators select structures and furniture suited to wind exposure, climate, installation method, maintenance, and expected occupancy.